How to Achieve Neutral Posture (video included!)

Today we're talking about how to achieve neutral posture! This is crucial for preventing pain in your joints, hips, and back, as well as for maintaining safety during lifts. Our posture must always allow for optimal breathing & core function. We do this by aligning the body and stacking the joints which helps us to experience the least resistance and difficulty. To help you achieve neutral posture, we're sharing a video demonstration by DLD Coach Madison, along with detailed written instructions!
Video Demonstration: Neutral Posture
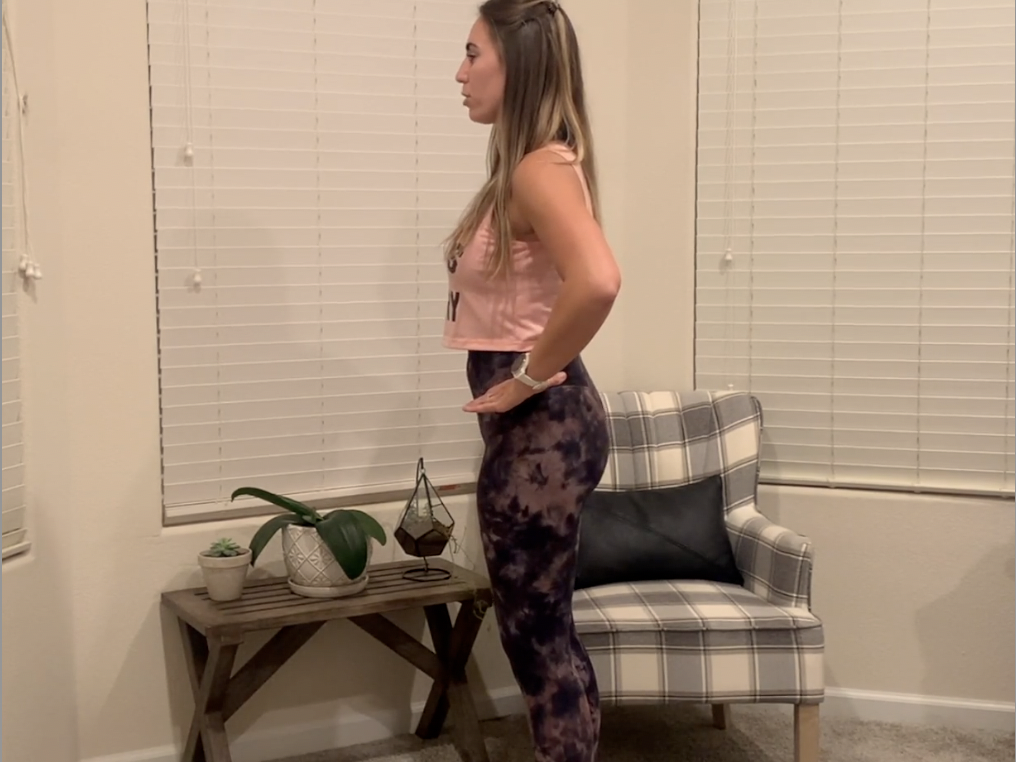
To achieve what we are going to call a “neutral posture” we are going to stand up, fix our gaze on something stationary in front of us, and assess the following things from the ground up.
1. Feet: Stand about hip to shoulder width apart. Imagine the feet being a tripod, with one point being under the heels, the second being at the base of the big toes, and the third being at the base of the pinky toes. Now try to slowly shift your weight until you find equal pressure (1) between right and left foot, and (2) between all three points of the tripods under your feet. If there were a pressure map under your feet we want to see both feet, and all the points on each foot, showing the same color/same pressure.
2. Knees: Simply unlock your knees so that they are “soft”, not bent, but not locked out. Don’t overthink this.

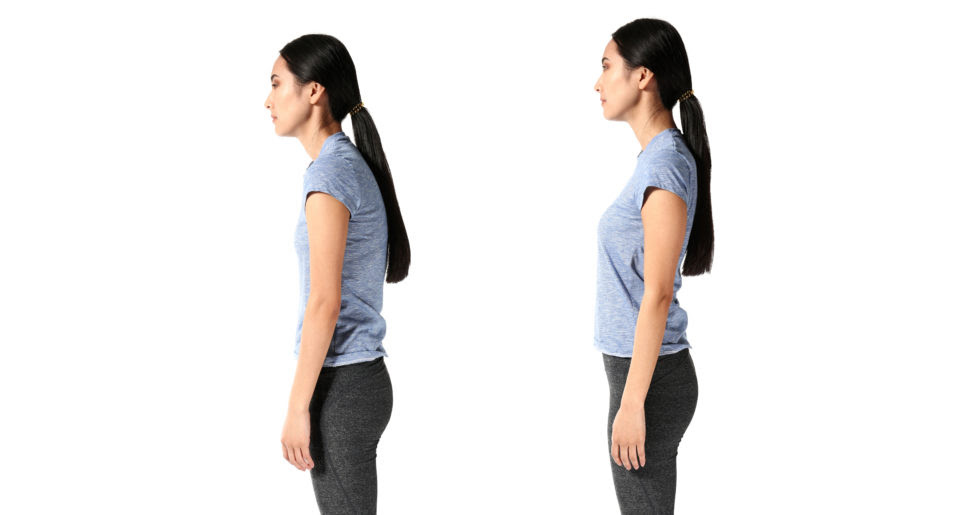
3. Pelvis: Place your hands on your hips, and find your posterior pelvic tilt (PPT) and anterior pelvic tilt (APT). To find your PPT, with your hands on your hips, pull your tailbone down and forward “tucking your tail” as much as you can, as if tilting your pubic bone up towards your chin, exaggerating this as much as you can. If your pelvis was a bucket of water, the PPT would be allowing water to spill out of the back of the bucket behind you. Oppositely, find your APT, tilt your pelvis as if the bucket of water would now spill water out of the front. This means lifting the tailbone and sticking your butt out, as your pubic bone tilts down towards the ground. Now, to find neutral, still with your hands on your hips, move between your PPT and APT to find the middle ground between the two. Your neutral pelvis is where your “bucket of water” would not be spilling out forward or backward. Once found, relax your hands by your sides. Note that your pelvis should also be level, with right and left hip evenly positioned, not having one hip hiked. If this is the case, start back at feet to ensure we have a good foundation.
4. Rib Cage: Gently pull your rib cage down, ensuring that it is not flaring upward.
5. Shoulders: Let your jaw and shoulders relax and gently draw your shoulders away from your ears. Then, gently draw them back just so that they are vertically lined up under your ears, not so much that you are pinching them back behind you. Note that your shoulders should also be level, with right and left shoulder positioned evenly, not having one shoulder higher than the other. Imbalances here are common, it may require more work on one side than the other to draw the shoulder down away from the ear.
6. Head: Looking forward, imagine a puppet string at the crown of your head gently lifting you upward toward the ceiling, lengthening your body from heels to head to stand tall.